Let’s use some materials we can find at home for crafts!
Toilet paper rolls!
Follow these ideas to make some toys and objects we can use at home!
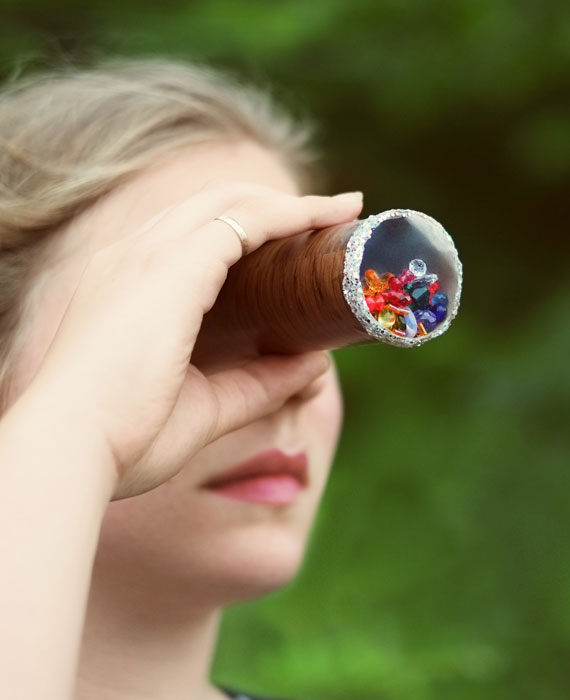
1. Kaleidescope toys:
- Start by cutting up pieces of tissue paper into small shapes or collecting coloured beads. (This is a great opportunity to talk about shapes and colours and sorting – all Math!)
- Cut out a black circle the same diameter as the toilet paper rolls and punch a hole in the middle of the circle. Tape the black circle to one end of the toilet paper roll.
- Cut out a plastic circle the same diameter as the TP tube from any recyclable plastic container (like from fruit).
- Tape the plastic circle to the other end of the TP tube. Cover it with glue and place little pieces of tissue paper on the outside of it. You can also decorate the tube with tissue paper now!
Children will love looking through the kaleidescope and seeing the world through colours!
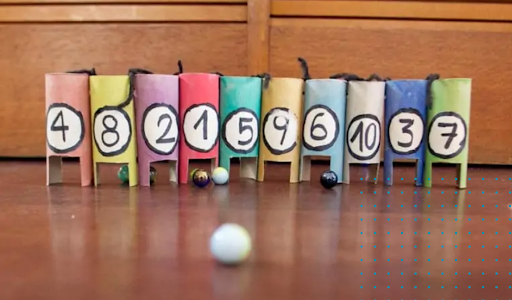
2. Marble games!
Take 6 empty toilet paper rolls and cut a rectangle into each one. You can choose how many you want to make!
Then find a round object that can roll into each one.
This could be a marble, a small ball, a round rock… whatever you find!
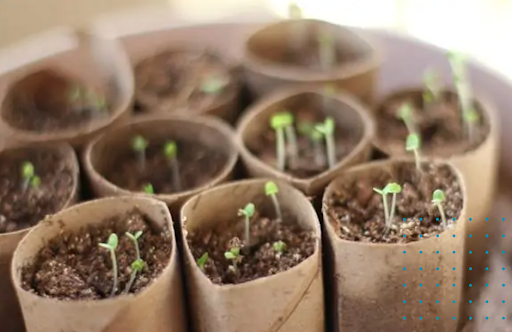
3. Seed starters:
Take your toiler paper rolls and:
- Fill with soil
- Gather seed to place inside
- Plant them outside and water them every day to grow your plant
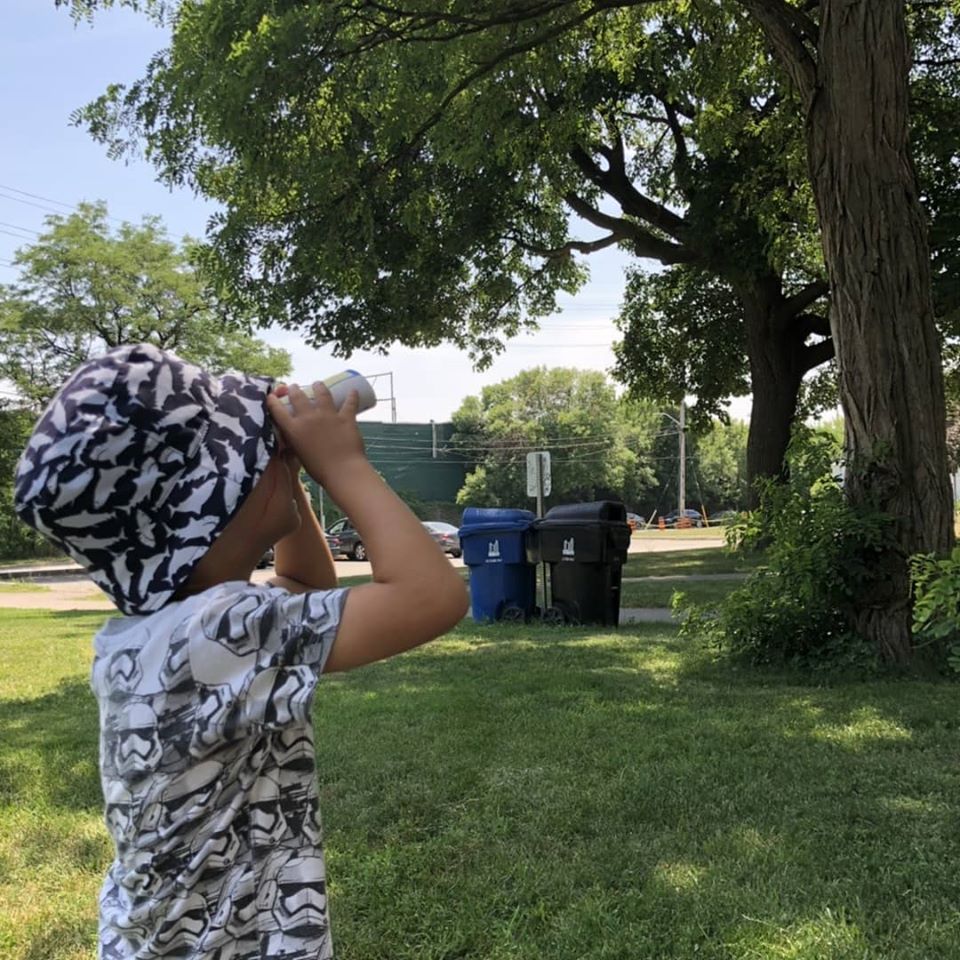
4. Eye Spy Binculars:
Children of all ages love to play games with binoculars! You can play some fabulous games of Eye Spy, or pretend to be Bird Watchers at the park. Imagine you are an explorer, wandering through the jungle in your own backyard! The opportunities of a child’s imagination are endless!
- After either cutting your paper towel roll in half, or using 2 toilet paper rolls, begin to decorate using the markers/crayons/paint/stickers.
- After decorating, use your hole punch and make 2 holes- one on the outside of each roll.
- Cut a piece of string long enough to go over your child’s head comfortably & tie the string to either hole.
- Glue the two rolls together by attaching them in the middle. (now would be the perfect time to use a clothes pins to hold them together!)
- Ensure you glue over the seam as well, to insure they stay together once dry.
For more activity stories and Oak Learners fun check us out on Instagram
For more fun Arts & Creafts find us on Pinterest too.
Looking for more fun Arts & Crafts check out our Arts & Creafts Archives
Or, sign up for our newsletter below for school updates.
Get updates on new classes, hosted events, and more.
